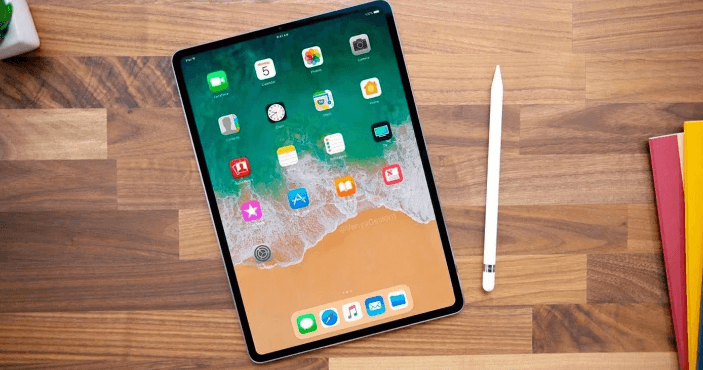
Have you ever watched a video on your iPad that you thought was really good, and felt like saving it so that you could watch it again later? Needless to say, if you save the video you’ll be able to watch it even when you’re offline, and could easily transfer it over to any of your other devices if you’d prefer to watch it there.
Of course, the one problem with saving videos from your iPad is that most of the online streaming videos you end up watching won’t provide you with an option to do so. That may seem discouraging at first, but the truth is that you can quite easily get around it by using a screen recorder to record the video from your iPad’s screen and then save it.
Assuming you want to do that you’ll need the help of Movavi Screen Capture Studio for Mac. As a screen recorder, it would normally be used to record your Mac’s screen – but it can just as easily be set up to record your iPad’s screen as well. The only other thing that you’ll need is the standard lightning-to-USB cable so that you can connect your iPad and Mac.
When you are ready to begin, just follow these steps:
- Launch Movavi Screen Capture Studio for Mac and select ‘Record Screencast’ in the menu.
- Use the lightning-to-USB cable to connect your iPad to your Mac, and wait for a green check mark to appear on the ‘mobile device’ icon – indicating the connection was successful.
- Expand the list in ‘Capture Area’ and find your iPad then select whether you want to record its screen in portrait or landscape orientation.
- Make sure there is a green check mark on the ‘System Audio’ icon, and click on it once if not.
- When you are ready, hit ‘REC’ and play the video on your iPad at the same time.
- Once the video is done, press ‘Stop’ and then click ‘Save as’ to save it.
If you feel you could do with more detailed instructions, you will find them at Movavi Support page.
Although that is all you need to do to record your iPad screen, you should spend a few minutes exploring the other features in Movavi Screen Capture Studio for Mac too. As you do you’ll find that you can configure a variety of other recording parameters, including setting the frame rate, capturing audio from a microphone or other external devices, or even recording keyboard and mouse actions.
Another area of note are the recording controls themselves. Instead of manually clicking on the on-screen icons, you could control the entire recording via hotkeys. In fact, if you’d prefer to not have to ‘babysit’ the recording, Movavi Screen Capture Studio for Mac will give you the option of scheduling the start and stop time or specifying the duration so that it is handled automatically.
Arguably the most attractive parts of Movavi Screen Capture Studio for Mac, however, are its editing features. With these tools you will have an unprecedented amount of ways o tweak and improve your videos, including by cutting and joining video segments, inserting animated transitions, including background music, enhancing the video quality, and so on.
The bottom line is that Movavi Screen Capture Studio for Mac is excellent – both at recording videos from your iPad or Mac screen, and then subsequently editing them into the shape that you want them to be in. With a few minutes of time spent on your part, you will be able to familiarize yourself with its features and begin to apply them.


