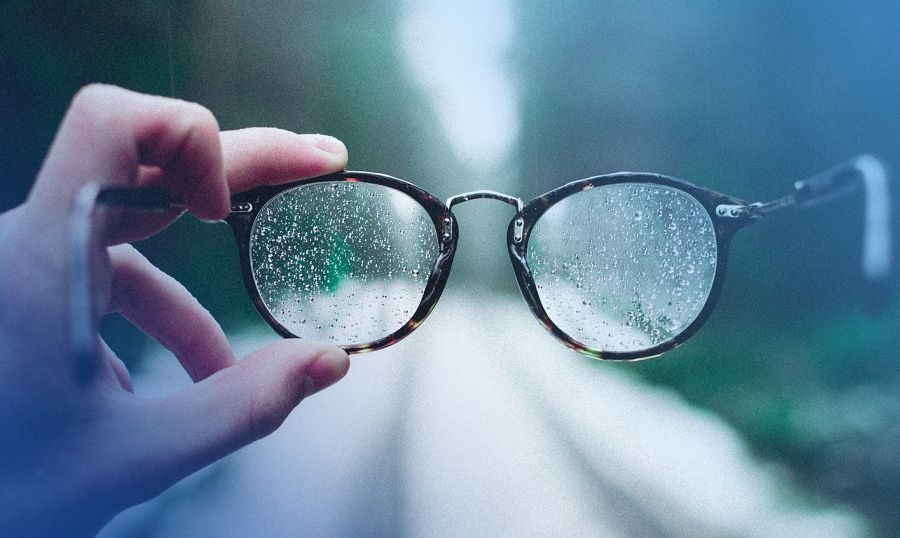
Have you noticed that some of the images on your blog look a bit blurry? It is a problem that is all too common, and yet trying to pin down the reason behind it can be very frustrating.

The good news is that in most cases there are three main reasons that are behind the majority of blurry blog images. Knowing what they are is important, and what is even more important is knowing what you can do about them.
A Blurry Original Image Was Used
Sometimes the reason why an image looks blurry when it is published on your blog is that the image itself actually was blurry, to begin with. It may not have looked that way previously – possibly because you were viewing it in a smaller preview.
Images can be blurry when they are captured for several reasons, such as a slow shutter speed, shaky camera, high ISO setting, poor focus, and more. If possible you should re-capture the image, but if not – you can fix it in a photo editor. For example, you can sharpen your images and make them less blurry by following the steps at http://www.movavi.com/support/how-to/how-to-fix-blurry-pictures.html. However, you should be careful not to sharpen an image too much – or it may start to look grainy instead.
The Image Wasn’t Resized Well
Did you resize the image before you published it on your blog? Although it is good to resize images to a more appropriate size prior to publishing them, it can affect the image’s quality and make it look blurry.
The key is to take a bit of care when resizing your images and use all available options. In particular, if you crop the image instead of scaling it then its quality should be unaffected.
That being said, if you do have to scale the image, you should be mindful of the impact it can have on the image. Ideally, you should check the quality of the resized version, and maybe even sharpen it a little if necessary.
As a rule, you shouldn’t use the built-in or automated resizing available on some blogging platforms (e.g. WordPress or Blogger). While convenient, their results aren’t as good as photo editors, and they don’t resemble the image nearly as well.
Browser Resized the Images
In an effort to make your blog more responsive, you may have your images set up so that they are resized to different dimensions for different screen sizes.

On paper that may sound good, but in practice, it will make your images look a bit blurry when they are scaled using CSS to be much smaller than the original.
The solution is to avoid relying heavily on CSS and use the srcset attribute instead. It will allow you to use a different version of the image for different screen sizes, and you can resize the images in a photo editor to make sure they look good at that size.
Admittedly, this involves more work on your part, but it will give you greater control over the quality of your images – especially for smaller screens.
Conclusion
The next time you publish an image on your blog that looks blurry, try to figure out the reason behind it – and take action accordingly.
In the long run, it will help if you optimize your workflow and the manner in which you resize or publish responsive images on your blog. Additionally, if you’re capturing your own photos it may help to take steps to improve your photography skills a little bit as well.


